Cedar Siding & Shingle Repair on San Juan Island
Cedar is the island’s default siding, and it fails in a handful of predictable places. Those are repairs, not a re-side.
- Licensed & bonded
- WA L&I #SANJUJI741OT
- Insured
- Locally owned in Friday Harbor
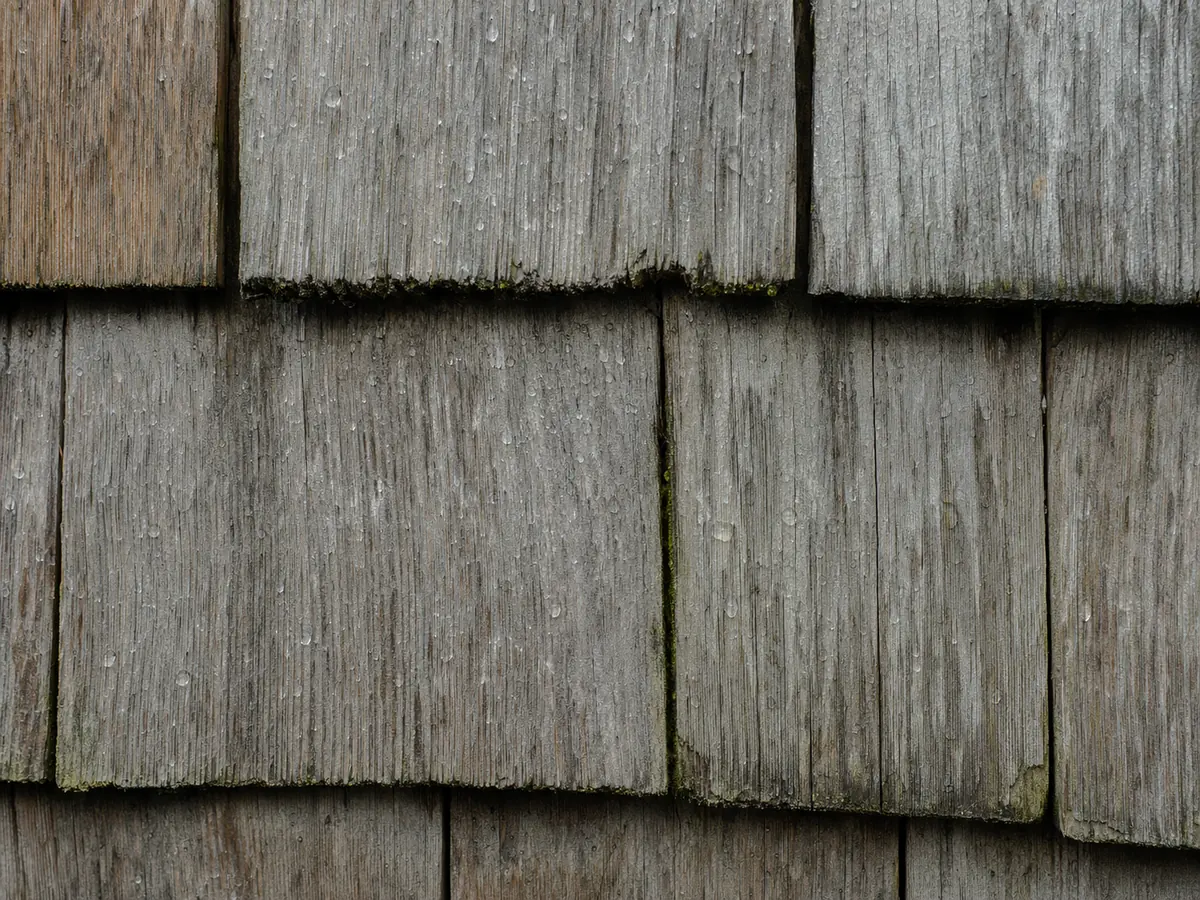
Drive any road on San Juan Island and you are looking at cedar. Shingle sidewall on the older houses, bevel lap on the seventies and eighties builds, board and batten on the outbuildings. It is the right material for here and it lasts a long time, but it does not fail evenly. It fails in specific spots, and if you catch those spots the rest of the wall is generally fine for another decade.
The spots are always the same. The bottom two courses, where splash-back off a deck or a gravel path keeps the butt ends wet. Under a window where the sill flashing was never installed or has lost its slope. Behind a downspout that discharges against the wall. The north and northeast elevations, which stay damp long enough to grow moss right in the shadow lines. And any place where a hose bib, a light box, a vent hood, or a dryer termination was cut in later and never properly flashed or caulked. Penetrations added after the fact are the single most common leak I find.
What I do about it is targeted. Cut out the rot back to sound wood, confirm the sheathing and framing behind it are dry and solid, correct the flashing or the water path that caused it, then weave in new cedar so the courses line up and the repair does not read as a patch. On shingle sidewall that means pulling nails with a shingle ripper, sliding replacements up under the course above, and blind-nailing so nothing shows. On bevel lap it means matching the profile and the exposure, which is not always what the lumberyard stocks by default. Browne’s carries the common profiles and I bring the odd ones over on the ferry.
New cedar has to be back-primed or sealed on all six sides before it goes up, including the cut ends. This is the step that gets skipped and it is the reason so many patches fail in three years while the original wall is still sound. Cedar also bleeds tannin, so bare or freshly cut cedar going under paint needs a stain-blocking primer or you get brown streaking through the topcoat within a season.
Where the honest answer is a re-side, I will say so. If a screwdriver goes into the sheathing behind the siding, if the water has been getting in for years, or if half a wall is cupped and brittle, patching it is throwing money at it. That is a bigger project with a different scope and I would rather tell you that at the inspection than three visits in. I also do not touch roofing. If the problem is originating at the roof edge, in a valley, or at a chimney flashing, that goes to a roofer and I will point at exactly what needs looking at.
One thing worth knowing about island cedar specifically: the salt air does not rot the wood so much as it eats the fasteners. Galvanized nails on a west-facing wall within sight of the water will corrode and bleed rust down the shingles, and once the nail head has gone the shingle starts to slip. When I open a wall up I use stainless fasteners on any exposed elevation. It costs more per pound and it is the difference between a repair that holds and one I come back to.
This work pairs naturally with a wash and a paint or stain cycle, because the scaffolding and ladder work is already up and the wall is already open. If you are planning to repaint, get the siding repairs done first and in the same season, not the year after.
What’s included
- Rot cutouts back to sound wood, with the cause corrected
- Individual cedar shingle and full course replacement, blind-nailed
- Bevel lap and board-and-batten board replacement, profile matched
- Window and door sill flashing corrections and drip caps
- Flashing and sealing around vents, hose bibs, and other penetrations
- Corner boards, trim, fascia, and skirt board replacement
- Back-priming and stain-blocking primer on all new cedar, cut ends included
- Stainless fasteners on exposed and water-facing elevations
- Honest call on repair versus re-side, in writing, with photos
What it costs
Small repairs run on the standard $250 minimum visit, which covers two hours, then $85/hour in quarter-hour increments. Cedar and flashing are billed at cost plus pickup time. Washington sales tax applies to the total including labor — 8.65% inside Friday Harbor town limits, 8.35% elsewhere in the county. See the full rate card.
Anything bigger than a couple of patches gets walked and quoted as a project, because the real variable is how much sound wood is behind what you can see. I would rather open one bad spot first and price the rest honestly than guess high from the driveway.
On Orcas, Lopez, and Shaw this runs on the ferry-island day rates — $595 half day, $995 full day — on scheduled island days. Outer islands by skiff are $1,295 for a full boat day. Cedar comes over with me: 20-foot boards are the ceiling in a 16-foot skiff, and anything longer goes by local hauler billed at cost.
Full rate cardCommon questions
Can you match my existing shingles?
Usually close, and the weathering does the rest. New cedar next to twenty-year-old cedar will read lighter for a season or two, then gray in. If the wall is stained or painted, the match is exact once the repair is coated.
How do I know whether it is just siding or something behind it?
I open one spot and look. If the building paper and sheathing behind the bad shingles are dry and firm, it is a siding repair. If the sheathing is soft or the framing is stained, that is a bigger conversation and I will show you the photos rather than talk you into a patch.
Do you re-side whole houses?
No. I do targeted repair, flashing correction, and trim. A full re-side is a different scope and I will refer it rather than stretch to it.
The problem seems to be coming from the roof. Can you fix that?
Not the roof itself. I do not do roofing or re-roofing. I will identify where the water is entering, photograph it, and tell you what a roofer needs to address, then repair the siding once the source is dealt with.
Photo: Before / after pair of one cedar shingle repair — rotted bottom courses, then woven in and primed. Same angle, same light.
Shot list item 6: before/after pairs convert best. This is the strongest one on the site.
Photo: Close in on hands sliding a replacement shingle up under the course above, shingle ripper visible.
Shot list item 3: action shots, hands on real work.
Next step
Want this off your list?
Call (360) 317-0203 or send the details and I’ll tell you what it takes.
Related